

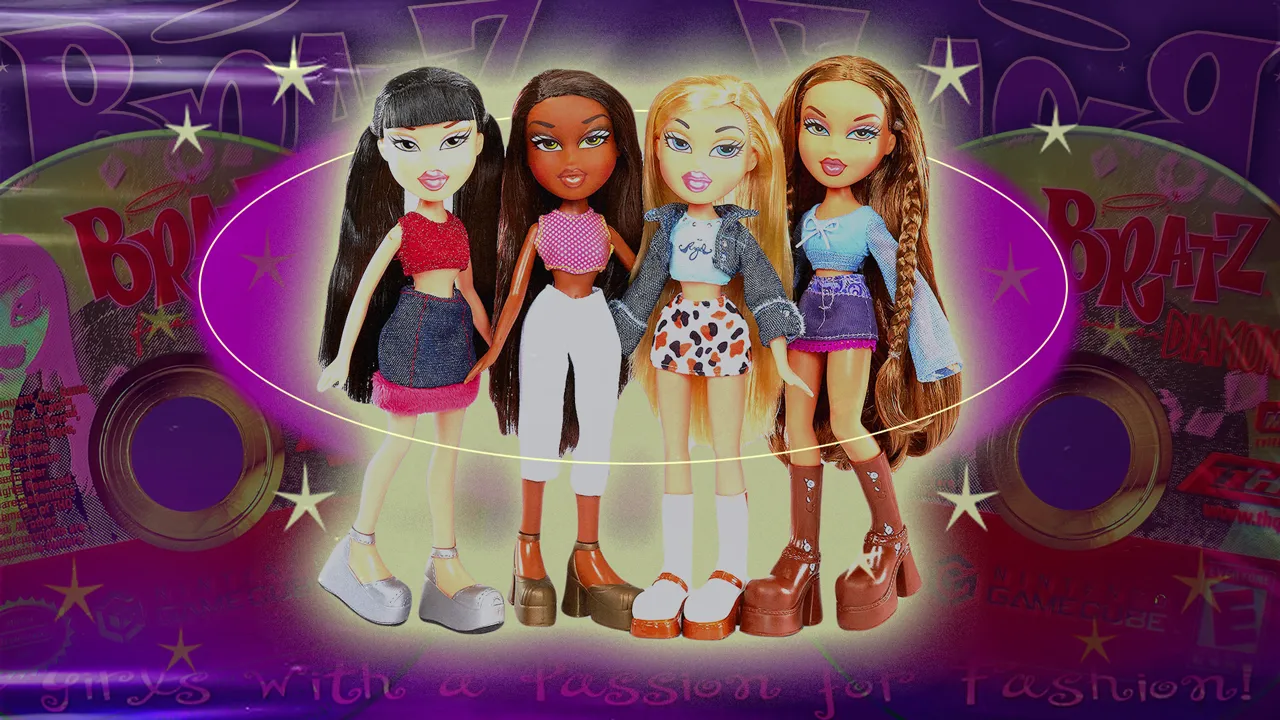
If you love Bratz dolls and want to give them a fresh new look, making your own clothes is a fantastic idea! Not only is it a fun and creative activity, but it also lets you express your style and imagination. Plus, creating custom outfits can save you money compared to buying new clothes. In this article, we’ll explore how to make your own Bratz doll clothes step by step. Whether you’re a seasoned seamstress or a complete beginner, you’ll find everything you need to get started.
Gather Your Materials
Table of Contents
ToggleBefore diving into the fun part, you’ll need to gather some materials. Here’s a simple list of what you’ll need to create fashionable outfits for your Bratz dolls:
- Fabric: Choose colorful and fun fabric. Cotton, felt, or old T-shirts can work well. Look for patterns or textures that you think your doll would love!
- Scissors: A good pair of fabric scissors is essential. Make sure they are sharp to cut cleanly.
- Needle and Thread: You can sew by hand or use a sewing machine. Choose a thread color that matches your fabric.
- Measuring Tape: This will help you measure your doll accurately, ensuring a perfect fit.
- Pins: Use pins to hold fabric pieces together while you sew.
- Pattern Paper: If you want to create a specific design, having a pattern is helpful.
- Iron: An iron will help you flatten out seams and make your finished product look neat.
Understanding Your Bratz Doll’s Measurements
Before you start cutting fabric, it’s important to measure your Bratz doll. This ensures that the clothes you make will fit perfectly. Here are some basic measurements you should take:
- Chest: Measure around the widest part of the doll’s chest.
- Waist: Measure around the smallest part of the waist.
- Hips: Measure around the fullest part of the hips.
- Height: Measure from the top of the head to the feet.
- Leg Length: Measure from the waist to the ankle.
Using these measurements, you can create a pattern that will fit your doll perfectly. Don’t worry if your first few attempts aren’t perfect; practice makes perfect!
Choosing a Simple Pattern
Now that you have your measurements, it’s time to decide what type of outfit you want to make. For beginners, starting with simple patterns is best. Here are a few easy options:
- T-Shirt: A basic T-shirt is a great first project. It has simple shapes and is easy to fit.
- Skirt: A straight or gathered skirt can be made with just a rectangle of fabric.
- Dress: Once you’re comfortable, try a simple dress pattern that combines the top and skirt.
- Pants: Simple pants can be a little more challenging, but they’re a great project once you get the hang of it.
Creating Your Pattern
If you’re feeling adventurous, you can create your own pattern. Here’s how to do it:
- Draw Your Design: On a piece of pattern paper, sketch out the shapes you’ll need for your outfit. Use your measurements to ensure it fits.
- Cut Out the Pattern: Once you’re happy with your design, carefully cut it out. You now have your pattern pieces!
- Add Seam Allowance: Remember to add a little extra space around your pattern pieces for seams. About 1/4 inch is usually enough.
Cutting Your Fabric
Now that you have your pattern, it’s time to cut your fabric:
- Lay Out the Fabric: Spread your fabric out on a flat surface. Make sure it’s smooth and wrinkle-free.
- Pin the Pattern: Place your pattern pieces on the fabric and use pins to hold them in place.
- Cut Carefully: Using your fabric scissors, carefully cut around the pattern pieces. Take your time to make sure the edges are clean.
Sewing the Pieces Together
With your fabric pieces cut out, it’s time to start sewing. Follow these steps:
- Start with the Basic Stitch: If you’re sewing by hand, use a simple running stitch. If you’re using a sewing machine, set it to a straight stitch.
- Sew the Sides: Begin by sewing the sides of your top or dress. Pin the pieces together and sew along the edge, leaving a little space for seams.
- Finish the Edges: To prevent fraying, you can finish the edges with a zigzag stitch or a serger if you have one.
- Attach Sleeves (if applicable): If you’re making a top with sleeves, sew them on before finishing the top.
- Hem the Bottom: Once you’ve sewn all the parts together, fold the bottom edges over and sew them down. This gives your clothes a neat finish.
Adding Details and Accessories
Now that your basic outfit is complete, it’s time to add some flair! Here are some ideas for embellishments:
- Buttons: Sew on buttons for a cute, stylish touch. You can use colorful or patterned buttons to match your fabric.
- Ribbons and Lace: Adding ribbons or lace can give your outfit a fun and feminine look.
- Pockets: Tiny pockets can be a cute addition to skirts or pants.
- Embroidery: If you’re feeling crafty, try some simple embroidery designs on your outfit for a personal touch.
- Dyes and Paints: You can use fabric paint or dye to create unique designs on your clothes.
Trying on the Clothes
Once you’ve finished sewing and decorating, it’s time for your Bratz doll to try on the new outfit!
- Dress the Doll: Carefully put the outfit on your doll, making sure not to snag any parts.
- Check the Fit: Look at how the clothes fit. If something feels tight or loose, make a note for your next project.
- Style the Hair: Don’t forget to style your doll’s hair! A great outfit looks even better with fabulous hair.
Troubleshooting Common Issues
If you encounter any problems while making your Bratz doll clothes, don’t worry! Here are some common issues and how to fix them:
- Too Tight or Loose: If the clothes don’t fit well, double-check your measurements and make adjustments for your next project.
- Fraying Edges: If you notice fraying, you can finish the edges with a zigzag stitch or use pinking shears.
- Uneven Hemlines: If your hems are uneven, carefully unpick the stitches and redo them.
- Falling Apart: If your seams are coming undone, reinforce them with extra stitches or use fabric glue for additional security.
Expanding Your Skills
Once you feel comfortable making simple clothes, it’s time to challenge yourself! Here are some advanced ideas:
- Create a Wardrobe: Design multiple outfits for your doll, including casual wear, formal dresses, and accessories.
- Use Different Fabrics: Experiment with various types of fabric, like stretchy material for fitted clothes or silk for fancy dresses.
- Learn New Techniques: Explore techniques like gathering, pleating, or creating linings for a more professional finish.
- Collaborate with Friends: Invite friends over for a sewing party! Share ideas, fabrics, and techniques, and create a Bratz doll fashion show.
Conclusion
Making your own Bratz doll clothes is a fun and creative activity that anyone can enjoy! By following the steps outlined in this guide, you can unleash your inner fashion designer and create unique outfits for your dolls. Remember to gather your materials, take accurate measurements, and have fun experimenting with different designs and embellishments.
Whether you’re sewing a simple T-shirt or an elegant dress, the satisfaction of seeing your Bratz doll wearing your handmade clothes is priceless. So grab your fabric and sewing supplies, and start creating! The world of Bratz fashion is waiting for your unique touch. Happy sewing.


Leave a Reply