

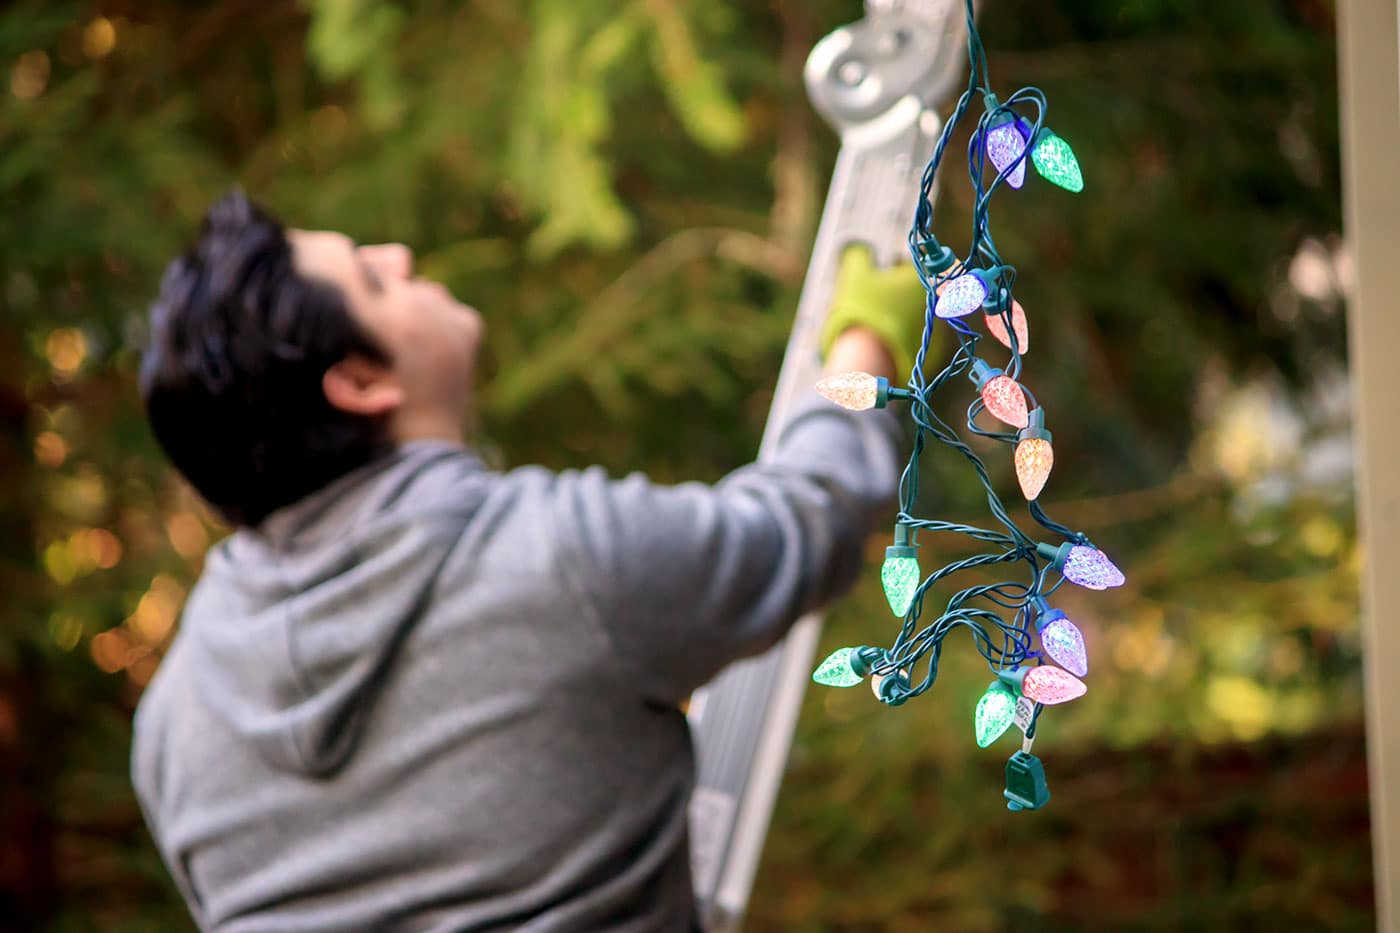
The holiday season brings joy, warmth, and a sense of togetherness. One of the most delightful sights during Christmas is the twinkling lights that adorn homes, trees, and streets. Have you ever thought about making your own Christmas lights clip art? Creating beautiful Christmas lights clip art is a fun and exciting project that anyone can do, whether you’re a child or an adult. In this article, we’ll explore simple ways to create stunning clip art of Christmas lights that you can use for cards, decorations, or even to share with friends and family.
What is Clip Art?
Before we dive into creating Christmas lights clip art, let’s understand what clip art is. Clip art consists of images and illustrations that you can use in your projects. They are like little pictures that help make things look more fun and colorful. Clip art can be found in books, on computers, or even drawn by hand. Creating your own clip art can be a great way to express your creativity and add a personal touch to your holiday decorations.
Why Create Christmas Lights Clip Art?
Creating beautiful Christmas lights clip art can be rewarding for many reasons. First, it allows you to showcase your artistic skills. Whether you draw by hand or use a computer, your clip art can be unique and special. Second, making your own clip art means you can design lights in any color or style you want. Finally, sharing your creations with friends and family can spread holiday cheer and inspire others to get creative, too!
Gathering Your Supplies
To start your Christmas lights clip art project, you’ll need a few simple supplies. If you plan to draw by hand, gather some colored pencils, markers, or crayons. You will also need paper to draw on. If you prefer using a computer, programs like Adobe Illustrator or even free tools like Canva can help you create beautiful designs. Don’t forget to have a good eraser handy if you’re drawing, just in case you make a mistake. You Can Also Read This 10 Ways to Make a Romantic Atmosphere at Home
Choosing Your Colors
The colors you choose are very important when creating Christmas lights clip art. Traditional Christmas colors are red, green, and gold, but you can use any colors that make you happy. Bright blues, purples, and even rainbow colors can make your lights pop! Think about what colors you see in your home during the holidays. Do you have a favorite color? Use that! The beauty of creating your own clip art is that you get to decide.
Drawing Basic Christmas Lights
Now it’s time to start drawing! To create basic Christmas lights clip art, follow these simple steps. First, draw a light bulb shape, which looks like a teardrop. Make it round at the bottom and pointy at the top. Next, draw a small line at the bottom to represent the socket where the bulb connects to the wire. You can draw one light or many lights hanging together. Don’t forget to add a little shine by drawing a small circle on the bulb to make it look bright!
Adding More Details
Once you have your basic Christmas lights drawn, it’s time to add some details. You can make your lights even more beautiful by adding patterns. Draw stripes, dots, or stars on your light bulbs to give them personality. You can also color the bulbs in different shades to create a rainbow effect. The more details you add, the more special your Christmas lights clip art will be!
Creating a String of Lights
To make your clip art look like a string of Christmas lights, draw a wavy line that represents the wire. Then, attach your light bulbs along the wire, spacing them out evenly. You can use different colors for each bulb to create a festive look. If you’re feeling adventurous, try adding some sparkles around the lights. This can make your clip art feel magical, just like the holiday season!
Using Digital Tools
If you’re using a computer to create your Christmas lights clip art, many of the same principles apply. You can use drawing software to create shapes, add colors, and include details. Programs like Adobe Illustrator allow you to use tools that can easily shape your bulbs and make them shine. Online tools like Canva also have templates that can help you get started. Digital tools can make the process quicker and give you more options for designing your clip art.
Saving and Sharing Your Art
Once you finish your Christmas lights clip art, it’s time to save and share it! If you drew it by hand, you can take a picture of your artwork or scan it into a computer. This way, you can share your creations with others online. If you used digital tools, simply save your work as a PNG or JPG file. You can share your clip art on social media, use it in holiday cards, or print it out to decorate your home. Sharing your art can bring smiles to many faces!
Creative Ways to Use Your Christmas Lights Clip Art
Now that you have beautiful Christmas lights clip art, let’s explore some creative ways to use it. You can create festive holiday cards by adding your clip art to the front of a blank card. Write a warm message inside to send to friends and family. Another idea is to use your clip art in a scrapbook. You can make a special page dedicated to your holiday memories and include your lights as a decorative touch.
Making Digital Stickers
If you want to take your Christmas lights clip art to the next level, consider turning them into digital stickers! You can use apps that allow you to create stickers from your artwork. These stickers can be used in messaging apps to add some holiday cheer to your conversations. Just imagine sending a cute light bulb sticker to your friends or family to brighten their day!
Organizing a Craft Session
Creating Christmas lights clip art can be even more fun when you involve others. Organize a craft session with friends or family. Gather your supplies, put on some holiday music, and enjoy creating together. You can share ideas and inspire each other to try new designs. Plus, crafting together can create lasting memories and strengthen bonds during the holiday season.
Exploring Other Clip Art Ideas
While Christmas lights are a fantastic choice for clip art, there are many other holiday-themed designs you can create. Consider making snowflakes, Christmas trees, or even Santa Claus. Each design can add more joy to your holiday projects. Try mixing and matching your Christmas lights with these other designs to create festive scenes.
Learning from Others
If you’re new to creating clip art, don’t hesitate to learn from others. Look for tutorials online that show you different techniques for drawing and designing. There are many artists who share their tips and tricks for creating beautiful art. Watching videos or reading articles can help you improve your skills and inspire you to try new ideas.
Staying Inspired
As you create your Christmas lights clip art, remember to stay inspired. Look around your home and notice the decorations and lights that bring you joy. You can also find inspiration in holiday movies, books, and songs. Each of these can spark your creativity and help you come up with new designs for your artwork.
Conclusion
Creating beautiful Christmas lights clip art is a wonderful way to celebrate the holiday season. It allows you to express your creativity while making something special that you can share with others. Whether you draw by hand or use digital tools, the process can be fun and fulfilling. So gather your supplies, choose your colors, and let your imagination shine bright like the Christmas lights you’re creating.


Leave a Reply